To fix USB device not recognized, first try the device in another port (the rear ports on a desktop) and on another PC, so you know whether the port or the device is at fault. If it works elsewhere, set USB selective suspend to Disabled in powercfg.cpl. Then uninstall the Unknown USB Device in Device Manager and click Action > Scan for hardware changes. If it still fails, remove the USB Root Hub entries and restart.
Key Takeaways
- Try the device in a different port, then on a different PC. That tells you whether the port or the device is the problem, and it decides every step after that.
- On a desktop, use the rear ports directly on the machine. Front panel ports and hubs don’t always supply enough power.
- Set USB selective suspend setting to Disabled under Win + R >
powercfg.cpl> Change plan settings > Change advanced power settings > USB settings. Some laptops don’t have this setting, and that’s normal. - In Device Manager, uninstall the Unknown USB Device (Device Descriptor Request Failed) entry and click Action > Scan for hardware changes. If that doesn’t work, uninstall the USB Root Hub entries and restart.
- The Hardware and Devices troubleshooter and the downloadable USB troubleshooter are gone from current Windows, so don’t go looking for them.
Quick Steps
- Plug the device into a different port, using a rear port on a desktop.
- Test the same device on another computer.
- Press Win + R, run
powercfg.cpl, and set USB selective suspend to Disabled. - In Device Manager, uninstall the Unknown USB Device, then click Action > Scan for hardware changes.
- Uninstall the USB Root Hub entries under Universal Serial Bus controllers and restart.
- Untick Allow the computer to turn off this device to save power on the USB Root Hub.
- Turn off Fast Startup and update your USB and chipset drivers.
What the error looks like
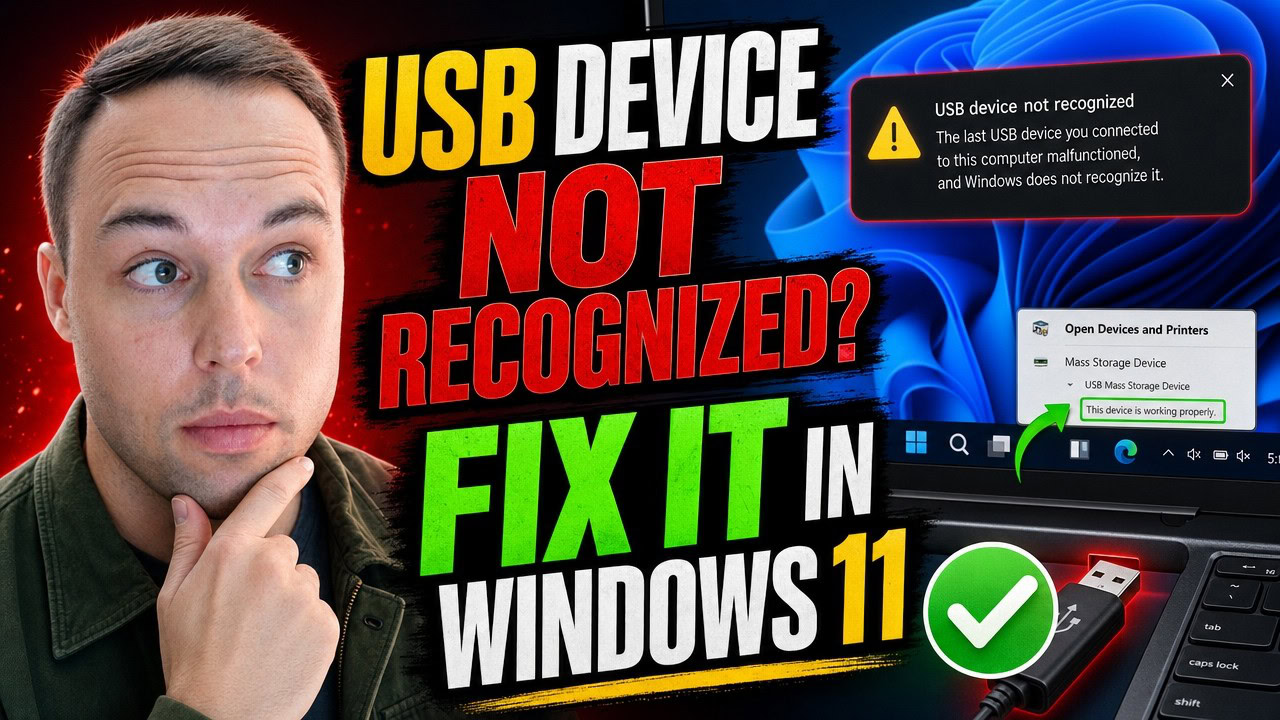
You plug in a flash drive, a mouse, a printer or anything else, and Windows shows a USB device not recognized notification. In Device Manager the same fault shows up as Unknown USB Device (Device Descriptor Request Failed). Either way, Windows detected that something was plugged in but couldn’t read what it is.
The fixes below run from the quickest check to the deeper ones. Most of them are the method in the video above: the port test, USB selective suspend, the two Device Manager fixes, the root hub power setting, the driver check with Snappy Driver Installer Origin, and the note about the missing USB troubleshooter. Turning off Fast Startup and the Windows Update and chipset driver steps aren’t in the video. They’re standard extra fixes to try if the video’s steps don’t clear it.
Rule out the port and the device first
This takes about ten seconds and tells you more than any setting.
- Unplug the device and plug it into a different USB port.
- On a desktop, use the ports on the back, directly on the motherboard. Don’t use a USB hub or the front panel, because they don’t always deliver enough power.
- Then plug the same device into another computer if you have one.
Those two tests show whether the port or the device is the problem:
- The device fails on every port and on the other PC too: the device or its cable is the problem. Try another cable if it has a removable one.
- The device works on another PC or another port: the device is fine, and the problem is on your PC. Carry on with the steps below.
Tip: If a PC or laptop has stopped seeing USB devices at all, a full power drain sometimes brings the ports back. Here’s how to drain residual power from a PC or laptop. In short: shut the machine down properly (not a restart), pull the power cable out of the power supply or unplug the charger, and take the battery out as well if it comes out. Press and hold the power button for about 30 seconds, then put the battery back, plug the cable or charger back in and switch it on as normal.
Turn off USB selective suspend
If the device works elsewhere, this is the first setting to check. Many people don’t know it exists. USB selective suspend lets Windows cut power to a USB port to save a bit of battery, and sometimes the port never properly comes back.
- Press Win + R together.
- Type the following and press Enter to open Power Options:
powercfg.cpl- Next to your active plan, click Change plan settings.
- Click Change advanced power settings.
- Expand USB settings, then expand USB selective suspend setting.
- Set it to Disabled. On a laptop, set both On battery and Plugged in to Disabled.
- Click Apply, then OK.
Opening it with powercfg.cpl takes you straight to Power Options, so you don’t have to find it in Control Panel.
Tip: On some laptops the USB settings entry isn’t there at all. That’s normal. Those machines just don’t expose this power setting. If you don’t see it, skip ahead to the next step.
Reinstall the device and USB root hubs in Device Manager
Reinstall the unknown USB device
- Right-click Start and open Device Manager.
- Find Unknown USB Device (Device Descriptor Request Failed), the entry with the descriptor error. It’s usually under Universal Serial Bus controllers.
- Right-click it and choose Uninstall device, then confirm.
- Now the important part: open the Action menu at the top and click Scan for hardware changes.
Windows detects the device again and installs it from scratch.
Reinstall the USB Root Hub entries
If the device still isn’t recognised, go one step further.
- In Device Manager, expand Universal Serial Bus controllers.
- Right-click each USB Root Hub entry and choose Uninstall device. Leave the root hub your keyboard and mouse use until last. To see which one that is, click View > Devices by connection and find your keyboard and mouse under a root hub.
- Restart the PC.
Windows reinstalls all the root hubs automatically as it starts up, and that clears a surprising number of these faults. If you’re on a desktop with only a USB keyboard and mouse, they’ll stop responding once you remove that last hub, so you can’t click Restart. Press and hold the power button until the PC switches off, then switch it back on. A forced power-off like that is a full shutdown, not a Fast Startup one, and the keyboard and mouse come back as Windows starts.
Stop Windows turning off the USB root hub
There’s one more power setting in the same area worth changing.
- In Device Manager, under Universal Serial Bus controllers, right-click a USB Root Hub and choose Properties.
- Open the Power Management tab.
- Untick Allow the computer to turn off this device to save power.
- Click OK.
Repeat this for the root hub your problem device is plugged into.
Warning: Don’t do this on the hub your keyboard and mouse use if they’re your only set. You can end up disabling the very port they rely on, and then you’re stuck with no way to click or type.
Turn off Fast Startup
This fix isn’t in the video, but it’s a well-known one. With Fast Startup on, clicking Shut down doesn’t fully restart the USB hardware, so a port that got stuck stays stuck. Clicking Restart does a full restart, which is why the root hub step above uses it.
- Press Win + R, type
powercfg.cpland press Enter. - On the left, click Choose what the power buttons do.
- Click Change settings that are currently unavailable.
- Untick Turn on fast startup (recommended).
- Click Save changes.
To do one full shutdown without changing the setting, run this in Command Prompt or Terminal:
shutdown /s /t 0Update your USB and chipset drivers
The video’s last tip is to check that all your drivers are up to date, and it points to Snappy Driver Installer Origin for that (the SDIO steps further down). The Windows Update and chipset steps directly below aren’t in the video. They’re worth trying if none of the steps above worked, because an outdated USB controller or chipset driver could be the cause, especially on a fresh Windows install.
- Open Settings > Windows Update > Advanced options > Optional updates.
- Expand Driver updates, tick any USB, chipset or motherboard entries and click Download & install.
- For the chipset driver, go to your PC or motherboard maker’s support page, find your exact model, and install the latest chipset driver from there.
If you have a lot of devices showing yellow warning triangles in Device Manager, Snappy Driver Installer Origin installs the missing drivers all at once instead of one at a time:
- Download the SDIO zip from glenn.delahoy.com. There is no installer.
- Right-click the zip, choose Extract All, and pick a folder on your drive.
- Run the 64-bit executable (the file with 64 in the name) and accept the licence terms.
- On the welcome screen choose Download Indexes Only.
- Turn on the restore point option in the app before you install anything.
- Tick the drivers marked as not installed and the ones flagged as a better match. Uncheck anything that is only a newer version of a driver that already works.
- Click Install, then restart when SDIO tells you to.
Don’t look for the USB troubleshooter
Many older guides tell you to run the Hardware and Devices troubleshooter or to download Microsoft’s USB troubleshooter tool. Microsoft has removed both from current Windows, so there’s nothing to find. The steps above are what replaced them.
Frequently Asked Questions
Does this work on Windows 10?
Yes. Power Options, Device Manager, the Power Management tab and the Fast Startup setting are in the same places on Windows 10. The only difference is where optional driver updates are listed: on Windows 10 they’re under Settings > Update & Security > Windows Update > View optional updates.
Will uninstalling the USB Root Hub delete my files or break anything?
No. It only removes the driver entry, and Windows reinstalls it automatically on the next restart. Nothing on your drives is touched. The one catch is that a USB keyboard and mouse stop working until the PC starts again, so if they’re your only input, be ready to hold the power button to force the PC off and then switch it back on.
My flash drive shows in Device Manager but not in File Explorer. Is this the same problem?
No. If Windows recognises the drive but it has no drive letter, open Disk Management with the command below. Right-click the drive’s volume, choose Change Drive Letter and Paths, click Add and pick a letter.
diskmgmt.mscCan I undo the power changes?
Yes. Set USB selective suspend setting back to Enabled, and tick Allow the computer to turn off this device to save power again on the root hub. On a laptop, turning selective suspend back on saves a little battery. Leave it disabled if it was what caused the fault.
What if the device still isn’t recognised after all of this?
If the device also failed on another PC, the device or its cable is faulty, and no setting will fix that. If it works everywhere except your PC, and only one port is affected, the port itself may be damaged. For printers specifically, see USB printer not detected in Windows 11, since the cause there is often not the driver.