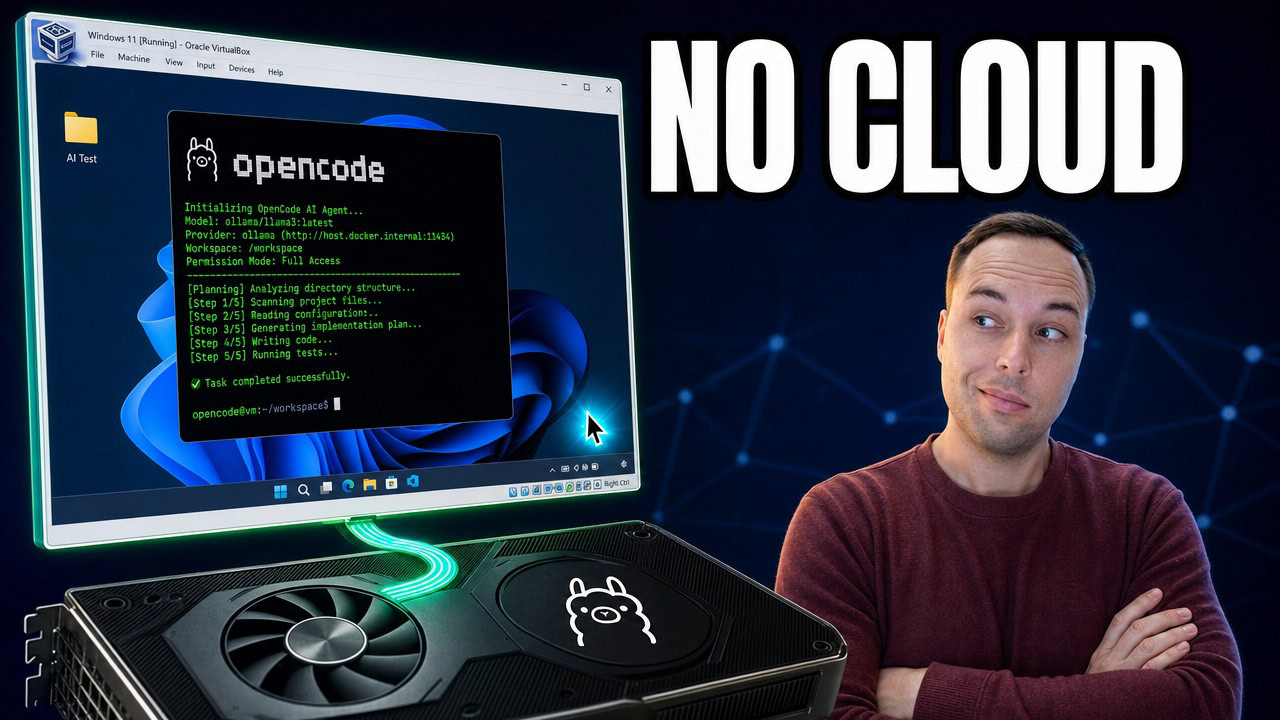
You can run a completely free AI agent on Windows using Ollama and OpenCode — no subscription, no account, and nothing leaving your PC. Ollama runs the AI model on your main PC’s graphics card, while OpenCode runs inside a Windows 11 virtual machine and talks to it over your home network. This guide walks through the full setup, including the context length fix that catches almost everybody.
Applies to: Windows 11 (23H2, 24H2, 25H2) and Windows 10 (22H2) | Last updated: July 22, 2026
Key Takeaways
- Ollama is the engine, OpenCode is the agent — Ollama loads the AI model onto your main PC’s graphics card, and OpenCode inside the virtual machine sends it requests over your home network. You need both.
- The default 4K context length breaks AI agents — the agent’s own instructions and tool list are bigger than 4K, so the model literally forgets it has tools. Set it to 64K in Ollama’s settings before anything else.
- The OpenCode base URL must end in /v1 —
http://YOUR-PC-IP:11434/v1. Leave the/v1off and you get a 404 error with no other explanation. - Small models cannot handle real agent work — on my RTX 3060, Qwen3.5 9B failed a simple multi-step task while Qwen3 Coder 30B completed it properly.
- Take a VirtualBox snapshot once everything works — if the agent ever makes a mess of the virtual machine, you are one click away from having it back the way it was.
Quick Steps:
- Install Ollama on your main PC from ollama.com (no admin rights needed)
- In Ollama’s settings, set Context Length to 64K and pick where models are stored
- Download your models with
ollama pullin the terminal - Enable “Expose Ollama to the network” in the settings and make sure your network is set to Private
- Note your PC’s IPv4 address with
ipconfig - In the virtual machine, install the OpenCode desktop app from opencode.ai
- Add a custom provider named
local-ollamawith the base URLhttp://YOUR-PC-IP:11434/v1and your model IDs - Optionally add
"permission": "allow"to opencode.json to skip the permission prompts - Take a VirtualBox snapshot of the working setup
How a Local AI Agent on Windows Actually Works
The setup uses two free tools that do very different jobs. Ollama is the engine: it loads the AI model onto your graphics card and answers questions over your network, and it knows nothing about agents or tools. OpenCode is the agent: it has the chat window, it runs the commands, and it contains no AI model at all — it asks Ollama for the thinking.
The part that makes this work is that the AI model never runs inside the virtual machine. It runs on your main PC, on your graphics card, and the virtual machine just sends it a web request over your home network — exactly like loading a website. The commands the agent runs all happen inside the virtual machine, so your main PC’s files are never touched.
And this is still completely private. Nothing is sent to any company’s servers — the only traffic is between your virtual machine and your own graphics card, inside your own home network.
I am using the Windows 11 virtual machine I set up in a previous video. If you do not have one yet, follow my guide to install Windows 11 in a VirtualBox virtual machine first — it covers the free ISO download, TPM 2.0, and the first snapshot.
Step 1: Install Ollama on Your Main PC
Head to the Ollama website and click the download button, then grab the Windows version. You can also use the PowerShell command shown on their homepage if you prefer the terminal route.
Run the OllamaSetup file and click Install. You will notice it does not ask for admin rights at all — it extracts to your local AppData folder and installs for your user only. When it finishes, the Ollama window launches by itself.
Step 2: Set the Context Length to 64K — the Setting Everybody Misses
Before downloading anything, open the Settings tab on the left side of the Ollama window and find the Context Length slider. Context length is how much the model can hold in its head at one time, and out of the box on my card it was set to 4K. That sounds fine until you realize an agent’s own instructions and its list of tools are bigger than that on their own.
With the default 4K context length, the AI literally forgets it has tools, and people assume the whole setup is broken when it simply ran out of room. Ollama’s own documentation recommends 64K or more for agents, so set the slider to 64K. It saves automatically — you will see a small notification at the bottom of the window, and there is no save button to press.
Tip: While you are in the settings, check the model storage location. By default models are saved to your user profile on the C: drive. I point mine at a folder on my D: drive instead, so the models survive when I format Windows and they do not eat my C: drive space. Click Browse, pick or create a folder, and it saves by itself.
Step 3: Download the Local AI Models
To download a model, right-click the Start button, open Windows Terminal or PowerShell as admin, and use ollama pull with the model name. I downloaded three models so I could put them up against each other on my hardware:
ollama pull qwen3.5:4b
ollama pull qwen3.5:9b
ollama pull qwen3-coder:30b
Qwen3.5 4B is about 3.4 GB, Qwen3.5 9B is 6.6 GB, and Qwen3 Coder 30B is the big one at 19 GB. Each pull grabs the manifest, downloads the layers, verifies the digest, and reports success at the end. Not sure what your own hardware can handle? My always-updated local AI model guide tells you what is worth running on your RAM and graphics memory, and what is not.
To test that a model works, swap pull for run and it drops you into a chat right in the terminal. Type /bye to exit. If you add --verbose, Ollama prints performance stats after each answer:
ollama run qwen3.5:9b --verboseThe number to watch is the evaluation rate. I gave all three models the same question on my RTX 3060 with 12 GB of VRAM: the 4B came back at about 73 tokens a second, the 9B at about 47, and the 30B at about 22.
So the small one is the fastest, right? Not quite — and this is worth knowing. The 4B is a thinking model, so it generated nearly 2,500 tokens working itself up to the answer and took 34 seconds. The 30B gave me 240 tokens and finished in 17 seconds. Tokens per second on its own does not tell you how quickly you get your answer.
Step 4: Open Ollama Up to Your Home Network
By default, Ollama only answers the machine it is installed on. In the Ollama settings, enable the “Expose Ollama to the network” option — that is what allows the virtual machine, or any other computer on your network, to use it.
Two things are worth checking here. First, make sure you are on a private network: right-click the Start button, go to Network Connections, and check that your Ethernet or Wi-Fi is set to Private and not Public — otherwise Windows blocks the traffic anyway. Second, the firewall. I did not get a firewall prompt at all when I enabled the setting, so I added the rule myself in an admin PowerShell window:
New-NetFirewallRule -DisplayName "Ollama" -Direction Inbound -Protocol TCP -LocalPort 11434 -Action Allow -Profile PrivateNotice the rule is scoped to Private networks only. Do not open this up on café Wi-Fi or any network you do not trust — this is for your home network.
Next, get your PC’s address. Type ipconfig in the same terminal and note the IPv4 address under your Ethernet or Wi-Fi adapter — mine looks like 192.168.x.x. I gave my PC a static IP address through my router, and if you plan on using this setup long term I suggest you do the same, because otherwise your router can hand your PC a different address tomorrow and nothing connects anymore.
To prove the engine is up, open a browser and go to http://localhost:11434 — it should say “Ollama is running”.
Step 5: Install OpenCode in the Virtual Machine and Point It at Your GPU
Start the Windows 11 virtual machine and prove it can see your main PC first: open a browser inside the VM and go to http://YOUR-PC-IP:11434 using the IPv4 address from the previous step. If it says “Ollama is running”, the virtual machine can reach the model on your host’s graphics card.
Now install the agent. OpenCode is a free and open-source AI coding tool with both a terminal version and a desktop version. I used the desktop app in this video because it is easier for most people — download the Windows x64 version from the OpenCode website. If you prefer the terminal version, I installed and explained it in my free AI models in OpenCode guide — same idea, you just add your models to the config file by hand.
Open OpenCode’s settings and find the Providers section, then scroll all the way down to Custom Provider, where you can add an OpenAI-compatible provider by base URL. Here is exactly what to enter:
- Provider ID and display name:
local-ollama— it must be all lowercase with hyphens instead of spaces. Both of those tripped me up. - Base URL:
http://YOUR-PC-IP:11434/v1— the/v1at the end is critical. I left it off the first time and got nothing but a 404 not found error. - API key: leave it empty.
- Models: add them by their exact Ollama IDs, colons included —
qwen3.5:4b,qwen3.5:9b,qwen3-coder:30b.
Click Submit and everything is connected.
Note: If you edit OpenCode’s config file directly instead of using the settings screen, close OpenCode completely and open it again. The file saves, but the app does not pick up the change until it restarts.
Which Model Actually Managed the Job
This was the part I was most curious about: can a model running on my own graphics card actually do a real job on the PC, not just answer a question? So I picked the model in OpenCode’s chat and gave it a simple task — create a folder on my desktop called AI-test, put a text file inside it with my Windows version and computer name, then tell me what you did.
The first message you send is always the slowest, because Ollama has to load the model off your disk before it can answer. If you watch Task Manager on the main PC, you can see the disk usage spike while it loads, then drop away once the model is on the graphics card.
Qwen3.5 9B was, honestly, underwhelming. It stopped midway through without finishing, so I had to tell it to carry on, and then it wrote the literal variable names into the file instead of my actual Windows version — and then stopped midway again. That is not OpenCode’s fault. A model that size loses the plot when it has to chain a lot of steps together, so I stopped it there.
Qwen3 Coder 30B got the exact same task. It took about four minutes and created the folder and the file properly. It did report “Windows 10 Pro” on a Windows 11 machine — but that is Windows itself reporting its version incorrectly in that particular spot, not the model. I told it that, and it checked a different way and came back with Windows 11 Pro and the actual build number.
That is the honest answer to which model you need: if you are doing this to have an agent actually run things for you, the small models will let you down.
Skip the Permission Prompts and Snapshot Your Setup
While the agent was working, it kept stopping to ask permission every time it wanted to touch a file outside its own folder. Inside a disposable virtual machine, I do not want that — the whole reason I am running the agent in a VM is so it cannot affect my main computer and I can let it get on with it.
OpenCode’s config file lives in your user profile, in the .config folder — yes, the Linux-style location, even on Windows:
%USERPROFILE%\.config\opencode\opencode.jsonRight-click it, edit it in Notepad, and add the "permission": "allow" entry. This is the complete working config file from my setup — replace 192.168.X.X with your own PC’s IP address. If you already added the provider through OpenCode’s settings screen, the provider section will be there and you only need to add the permission line:
{
  "$schema": "https://opencode.ai/config.json",
  "model": "local-ollama/qwen3-coder:30b",
  "provider": {
    "local-ollama": {
      "name": "local-ollama",
      "npm": "@ai-sdk/openai-compatible",
      "options": { "baseURL": "http://192.168.X.X:11434/v1" },
      "models": {
        "qwen3.5:4b": { "name": "qwen3.5:4b" },
        "qwen3.5:9b": { "name": "qwen3.5:9b" },
        "qwen3-coder:30b": { "name": "qwen3-coder:30b" }
      }
    }
  },
  "permission": "allow"
}
Warning: I tried a
"yolo": truesetting first because I had seen it mentioned, and it broke OpenCode completely — it would not even load the project afterwards. It is the"permission": "allow"entry you want. And remember to restart OpenCode after any config change.
Only bypass permission prompts inside a virtual machine, never on your main PC. An agent that runs commands without asking is exactly the kind of thing you want sandboxed — I break down why in my post on prompt injection and AI security.
Finally, save your work. Delete the test folder the agent made, empty the recycle bin, then in the VirtualBox window click Machine and Take Snapshot. I called mine “agent-ready” with the description “OpenCode installed and working”. Every experiment from here starts at this exact moment — when you turn an AI agent loose on a Windows install and it makes a mess of it, you are one click away from having it back the way it was.
Frequently Asked Questions
Do I need a virtual machine to run a local AI agent?
No — Ollama and OpenCode run fine together on a single PC. The virtual machine is there so you can safely let the agent run commands without approving each one, and so a snapshot can undo anything it does. If you run the agent on your main PC, keep the permission prompts turned on.
Why does OpenCode give a 404 error when connecting to Ollama?
The base URL is almost certainly missing the /v1 on the end. It must be http://YOUR-PC-IP:11434/v1. Also confirm the virtual machine can reach the host at all by opening http://YOUR-PC-IP:11434 in a browser inside the VM — it should say “Ollama is running”.
What graphics card do I need for this?
I ran everything in this guide on an RTX 3060 with 12 GB of VRAM, and the 19 GB Qwen3 Coder 30B model still worked at about 22 tokens a second by spilling part of itself into system RAM. Less VRAM means smaller models — check my local AI model guide to see what your hardware can realistically run.
Does this work on Windows 10?
Yes. Ollama and OpenCode both run on Windows 10 and Windows 11, and the steps are identical. The virtual machine guest in this guide is Windows 11, but the host PC running Ollama can be either.
Can I use an AI agent to debloat and set up Windows?
You can — in previous videos I had Claude Code set up and debloat a Windows 11 PC, and in a future video I am running those exact same tests with this local model inside the virtual machine. If you just want to debloat and optimize Windows without involving an AI agent at all, my free tool Winhance does it directly.