
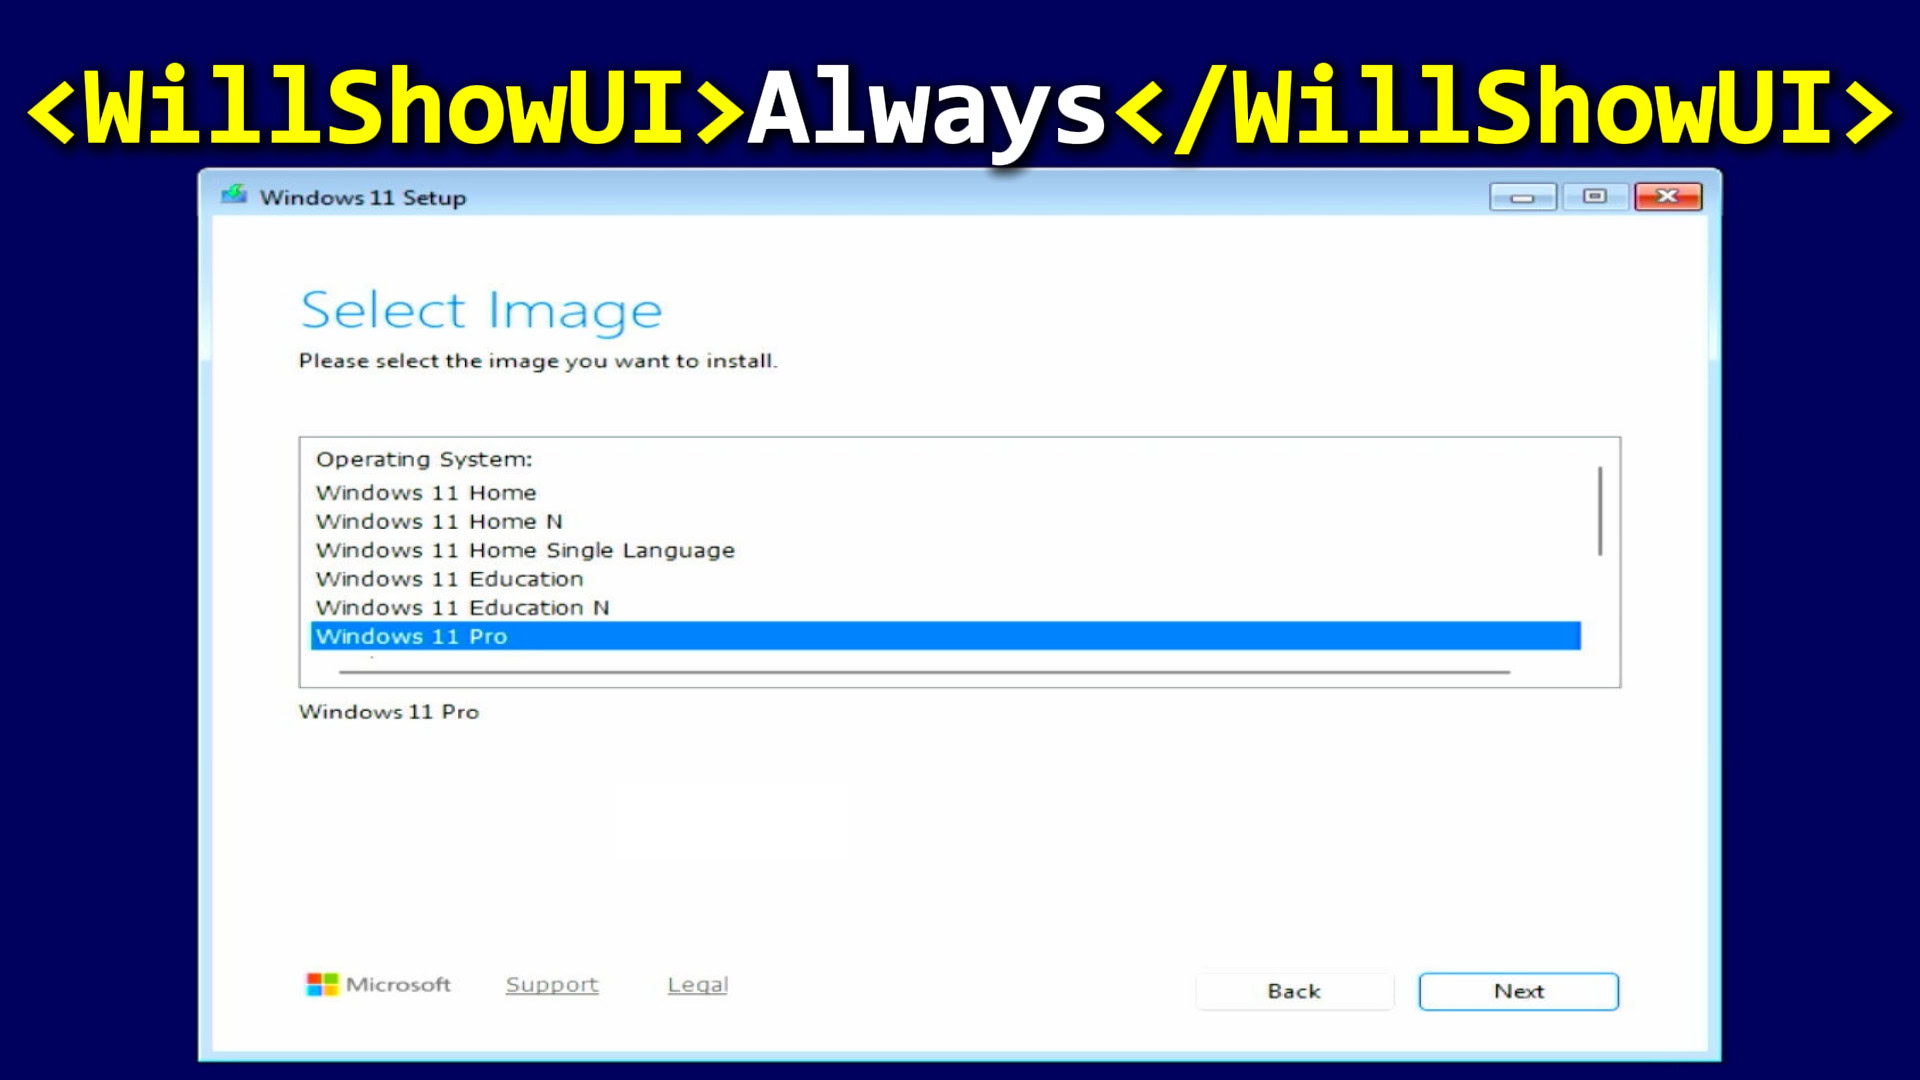
When Windows setup skips the edition selection screen, it’s because an OEM license key embedded in your BIOS is automatically selecting the edition. To get the edition selection screen back, add a blank product key (00000-00000-00000-00000-00000) and set WillShowUI to Always in your Autounattend XML file. To force a specific edition silently, replace the blank key with a generic RTM key for your target edition.
Applies to: Windows 10 (22H2) and Windows 11 (23H2, 24H2, 25H2) with Autounattend XML files | Last updated: April 23, 2026
Key Takeaways
- Windows 10 and 11 handle edition selection differently — Windows 11 shows the edition selection screen immediately with Autounattend files, while Windows 10 requires a back button workaround.
- Generic Windows keys control edition selection — Microsoft provides generic RTM keys that allow you to force specific Windows editions during installation without activating Windows.
- The WillShowUI command controls visibility — Setting this to
Alwaysensures you see the edition selection screen; setting it toNevercompletely hides it for fully automated installs.
Quick Steps
To show the edition selection screen:
- Open your Autounattend XML in a text editor
- Find the
<ProductKey>section for your architecture (AMD64 for modern PCs) - Set
<Key>to00000-00000-00000-00000-00000 - Add
<WillShowUI>Always</WillShowUI>inside the<ProductKey>block - Save and copy the file to your USB — on Windows 10, click back once at the edition screen and select “I don’t have a product key”
To force a specific edition silently:
- Replace the key value with the generic RTM key for your desired edition (see table below)
- Remove the
WillShowUIline, or set it toNever - Save and copy to USB — Windows will install the edition matching the key with no prompts
Requirements
Before making changes to edition selection, here’s what you’ll need:
- A Windows 10 or Windows 11 ISO file
- A USB flash drive or bootable installation media
- An Autounattend XML file (generate one using Winhance or UnattendedWinstall)
- A text editor (Notepad, Notepad++, or VS Code)
- Basic familiarity with XML file structure
Why Does Windows Edition Selection Get Skipped?
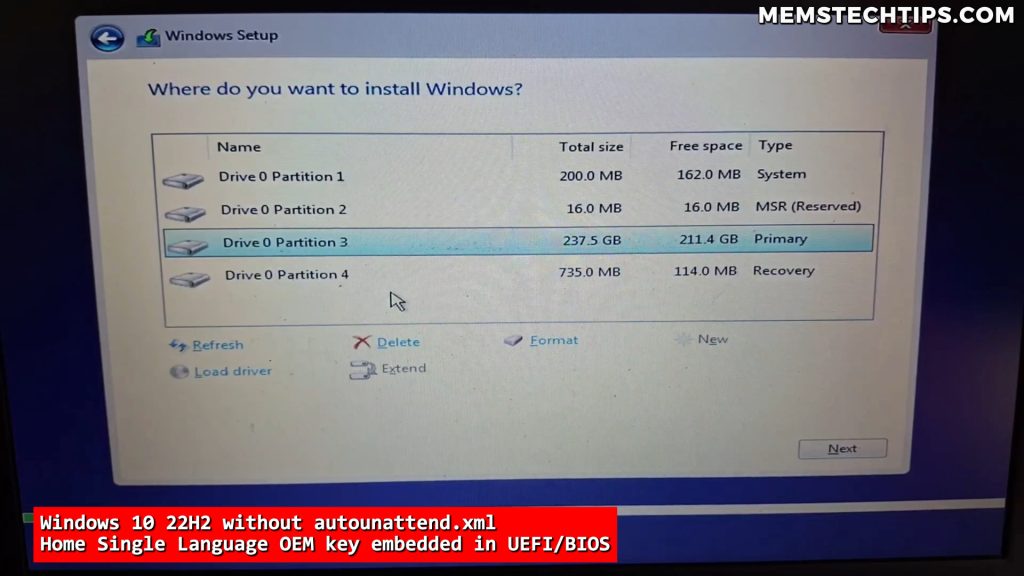
Most laptops and pre-built computers ship with a Windows license key embedded directly in the UEFI/BIOS. When you boot from a Windows ISO, setup detects this OEM key automatically and installs the matching edition — no selection screen appears. This is convenient when reinstalling the same edition, but a problem when you want to install a different one (for example, Pro on a machine that came with Home Single Language).
When you add an Autounattend XML file to the installation media, the behavior depends on what the product key section contains. If it’s empty or missing, Windows still falls back to the BIOS key. The blank key method overrides this by explicitly telling Windows to show the product key entry screen instead of silently pulling the OEM key.
How Windows 10 and Windows 11 Behave Differently
Windows 10 Behavior With a Blank Key
With a blank product key and WillShowUI set to Always, Windows 10 setup shows the edition selection screen — but typically displays only one edition, the one matching the OEM BIOS key. This looks like the problem is still there, but it’s actually fixable with one extra step.
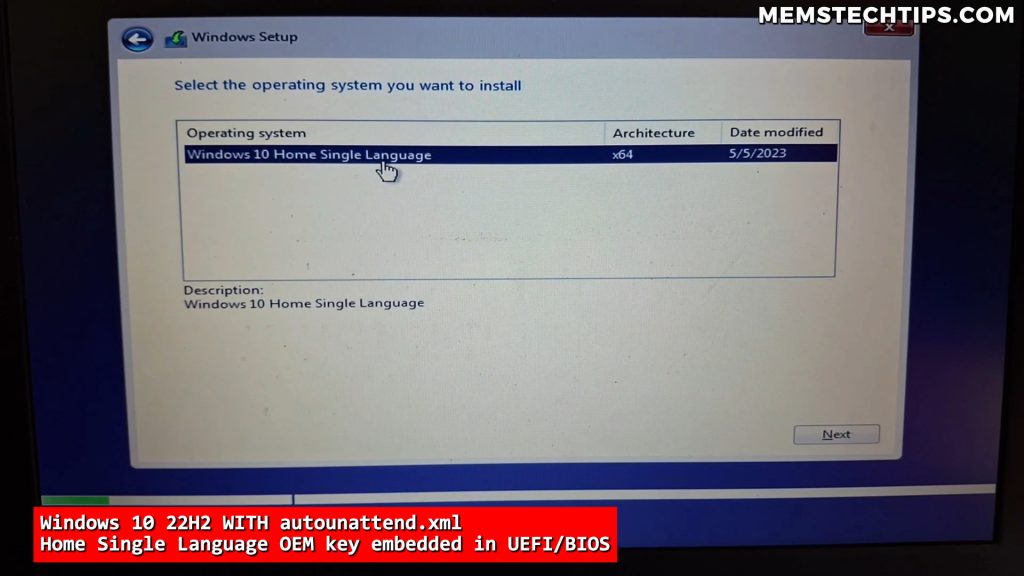
Click the back button on that screen. When you advance forward again and reach the product key prompt, select I don’t have a product key. All editions available on the ISO will now appear for selection.
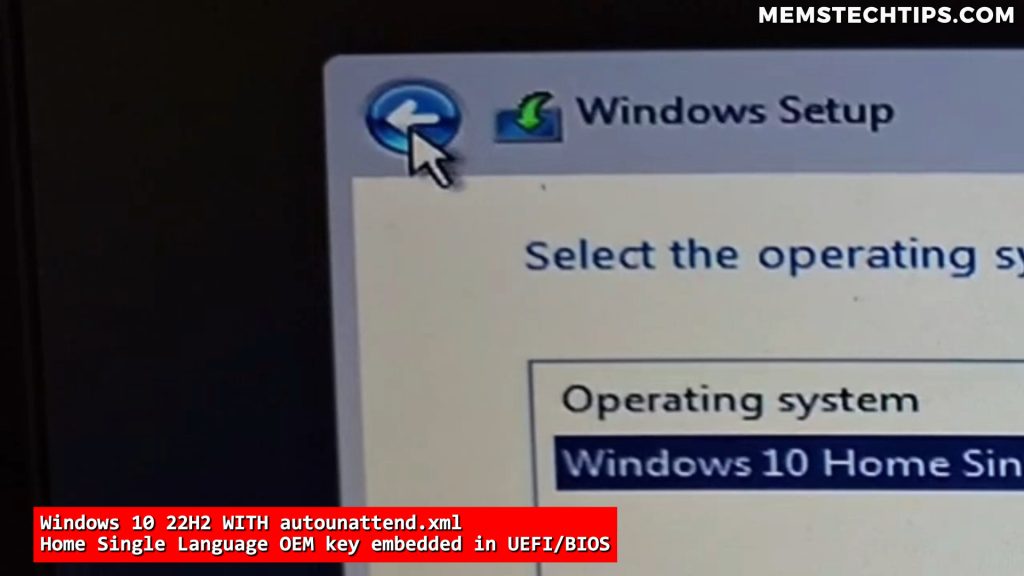
Windows 10 tip: If you see the edition screen but only one option is listed, click the back button, then proceed forward again and select “I don’t have a product key.” You’ll see all available editions.
Windows 11 Behavior With a Blank Key
Windows 11 handles this more cleanly. With the same blank key and WillShowUI Always, setup immediately shows the product key entry screen where you can click I don’t have a product key and see all available editions. No back button workaround needed.
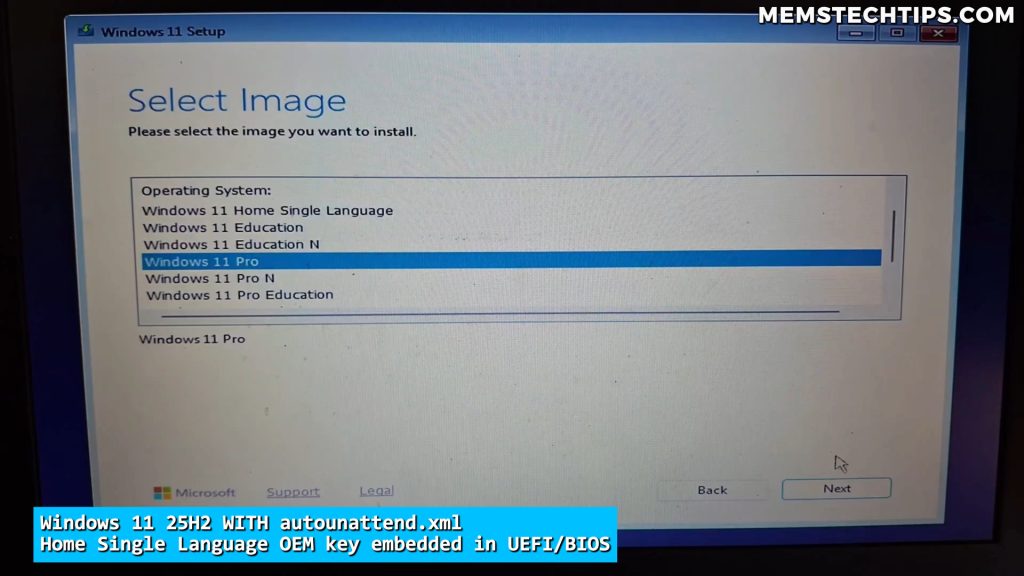
Method 1: Show the Edition Selection Screen (Blank Key)
Use this method when you want to choose the edition at install time without being locked to the OEM key. Open your Autounattend XML and find the <ProductKey> section — in files generated by Winhance or UnattendedWinstall, there are three sections for x86, ARM64, and AMD64 architectures. Edit the AMD64 section at minimum (that’s what modern 64-bit PCs use), or edit all three to be safe.
The configuration should look like this:
<ProductKey>
    <Key>00000-00000-00000-00000-00000</Key>
    <WillShowUI>Always</WillShowUI>
</ProductKey>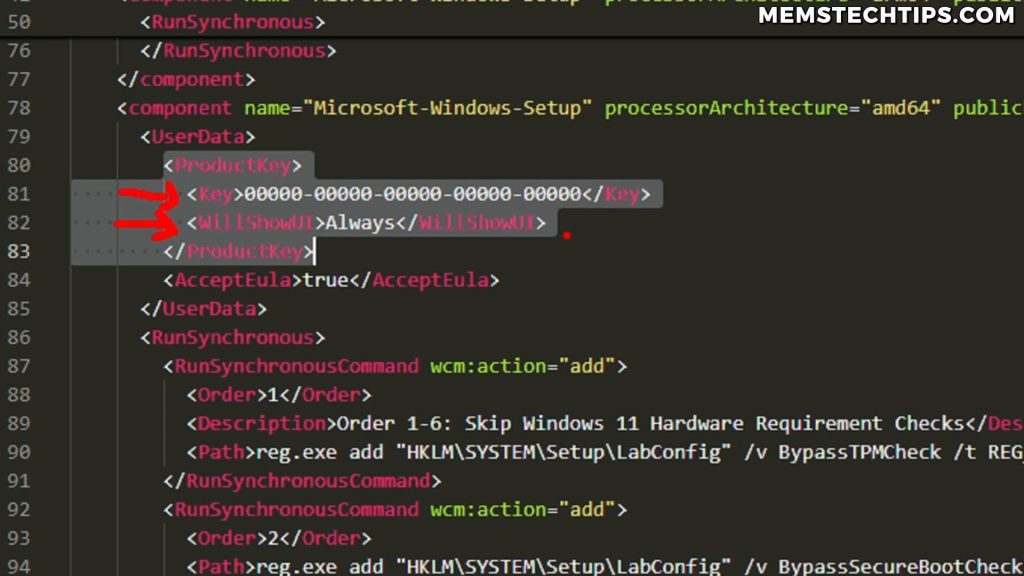
Save the file, copy it to the root of your installation USB, and boot. On Windows 11, you’ll see all editions immediately. On Windows 10, use the back button workaround described above.
Method 2: Force a Specific Edition Silently (Generic RTM Keys)
If you already know which edition you want and don’t need a selection screen, use a generic RTM (Release to Manufacturing) key. These are publicly available keys Microsoft uses for edition selection during setup — they do not activate Windows, they only tell setup which edition to install.
Important: Generic RTM keys are NOT license keys. They only select the edition during setup. After installation, you still need a valid license key to activate Windows. Entering a generic key in Autounattend does not license your installation.
The most commonly used generic keys are:
- Windows 10/11 Pro:
VK7JG-NPHTM-C97JM-9MPGT-3V66T - Windows 10/11 Home:
YTMG3-N6DKC-DKB77-7M9GH-8HVX7 - Windows 10/11 Education:
YNMGQ-8RYV3-4PGQ3-C8XTP-7CFBY - Windows 10/11 Enterprise:
XGVPP-NMH47-7TTHJ-W3FW7-8HV2C
Open your Autounattend XML and replace the blank key (or existing key) with the generic key for your target edition. For a completely silent installation with no edition screen, remove the WillShowUI line entirely, or set it to Never:
<ProductKey>
    <Key>VK7JG-NPHTM-C97JM-9MPGT-3V66T</Key>
    <WillShowUI>Never</WillShowUI>
</ProductKey>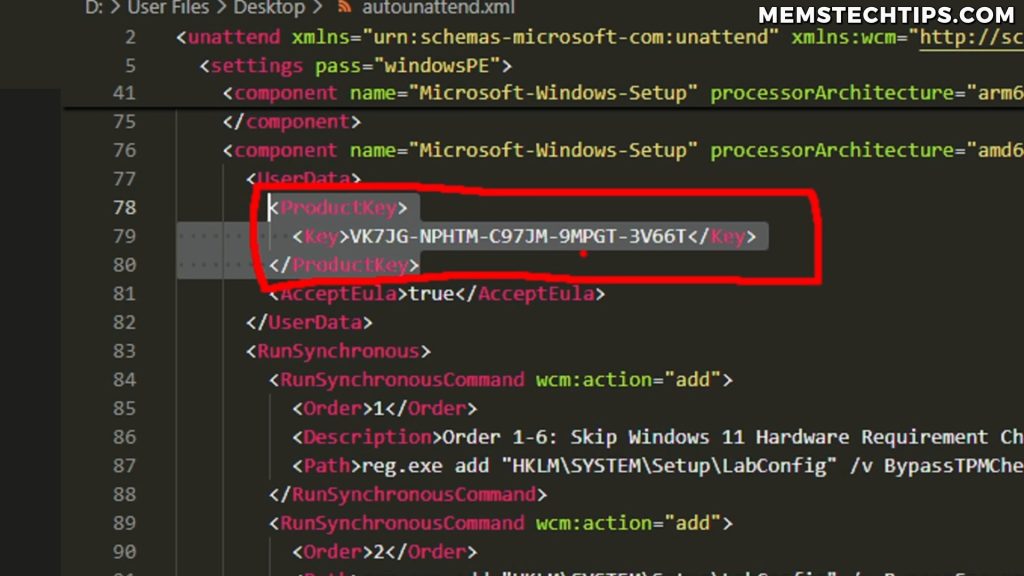
Save, copy to USB, and boot. Windows 11 with WillShowUI Never (or removed) will install the specified edition with no prompts at all. Windows 10 may still briefly show the edition screen even with WillShowUI Never removed — but it will show the correct edition pre-selected.
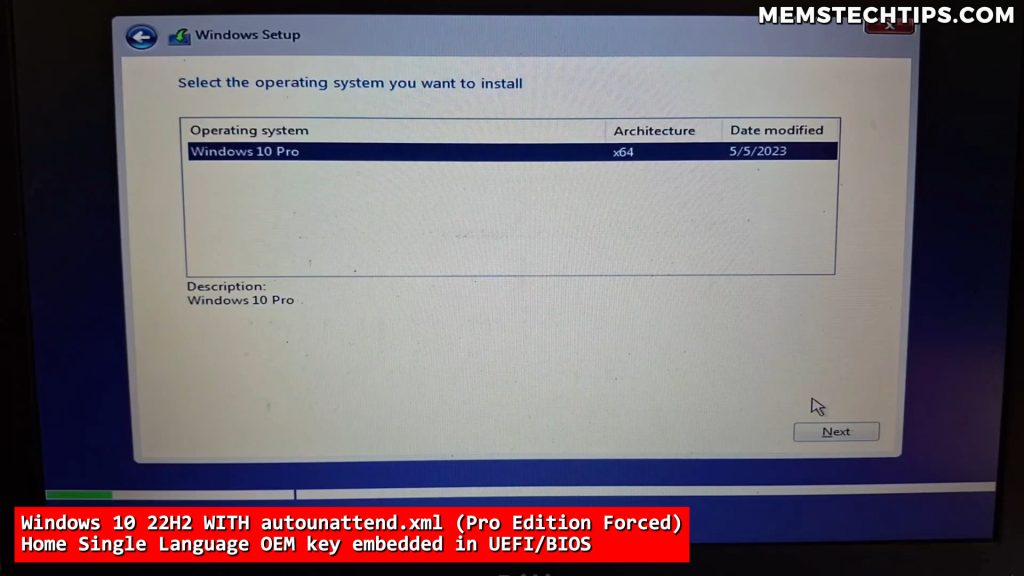
Alternative: EI.cfg and PID.txt (Without Autounattend)
If you’re not using an Autounattend file, you can control edition selection by placing an EI.cfg file in the sources folder of your installation USB. To force Windows Pro, the EI.cfg contents would be:
[EditionID]
Professional
[Channel]
Retail
To show all editions without forcing a specific one, use just:
[Channel]
Retail
Note: If an Autounattend XML is present on the installation media, it takes complete precedence over EI.cfg and PID.txt — those files are ignored entirely. Use EI.cfg only when you’re not using an Autounattend file.
Troubleshooting
Edition selection screen still not appearing
- Make sure you edited the correct architecture section — most modern PCs use AMD64, not x86
- Verify the Autounattend XML is in the root of the USB drive, not inside a subfolder
- Check for XML syntax errors — even a misplaced character can cause the entire file to be ignored
- On Windows 10, remember to use the back button workaround after the screen appears
Wrong edition being installed
- Check that you replaced the key in all architecture sections (x86, ARM64, AMD64)
- Verify you’re using the correct generic key for your desired edition
- Confirm there are no other Autounattend files on the USB that might conflict
Windows not activating after installation
Generic keys do not activate Windows — they only select the edition. After installation, go to Settings → Activation and enter a valid license key. If your machine has an OEM key for a different edition in the BIOS (e.g., Home), that key won’t activate the Pro edition you installed — you’ll need to purchase a separate Pro license.
ProtonVPN — Protecting Your Privacy
If you’re setting up clean Windows installs and want to protect your connection, I personally use ProtonVPN. It has a genuine free tier with unlimited bandwidth and a strict no-logs policy — rare for a free VPN. The free tier auto-connects to the fastest available server. If you need to pick specific countries for streaming, their paid plans unlock that. If you decide to upgrade from free to paid using my link, I earn a small commission at no extra cost to you.
Frequently Asked Questions
Can I use the generic Windows keys to activate Windows permanently?
No. Generic RTM keys are only for selecting the edition during setup — they don’t activate or license the installation. After Windows is installed, you still need to enter a valid license key to activate. These keys are publicly documented by Microsoft specifically for edition selection in automated deployments.
Why does Windows 10 only show one edition even with a blank key?
Windows 10 detects the OEM BIOS key even when WillShowUI Always is set, and initially shows only the matching edition. The workaround is to click the back button at that screen, then advance again and select “I don’t have a product key.” All editions on the ISO will then be listed for selection.
Will installing a different edition void my OEM license?
No — but your OEM license only activates the specific edition it was issued for. If your laptop came with Windows Home and you install Pro using a generic key, the OEM Home license won’t activate the Pro installation. The original OEM license remains valid if you reinstall the matching edition later.
Can the same Autounattend file work for both Windows 10 and Windows 11?
Yes. The XML configuration is identical for both versions. The only difference is behavior at runtime: Windows 11 handles edition selection more cleanly, while Windows 10 may require the back button workaround. One Autounattend file can be used across both versions.
What is the difference between the EI.cfg method and Autounattend?
EI.cfg is a simpler file placed in the sources folder of the USB — it only controls edition selection and nothing else. Autounattend is a full automation file that can handle edition selection, partition layout, locale settings, debloating, and more. If an Autounattend file is present, it completely overrides EI.cfg. Use EI.cfg only when you’re doing a standard (non-automated) installation without an Autounattend file.



Great breakdown of how Autounattend files override OEM keys and why generic keys are purely for edition selection, not activation. The reminder that Autounattend takes precedence over EI.cfg and PID.txt will save a lot of people from unnecessary troubleshooting. This kind of detail is exactly what’s missing in most unattended install tutorials.
Thanks for the feedback.