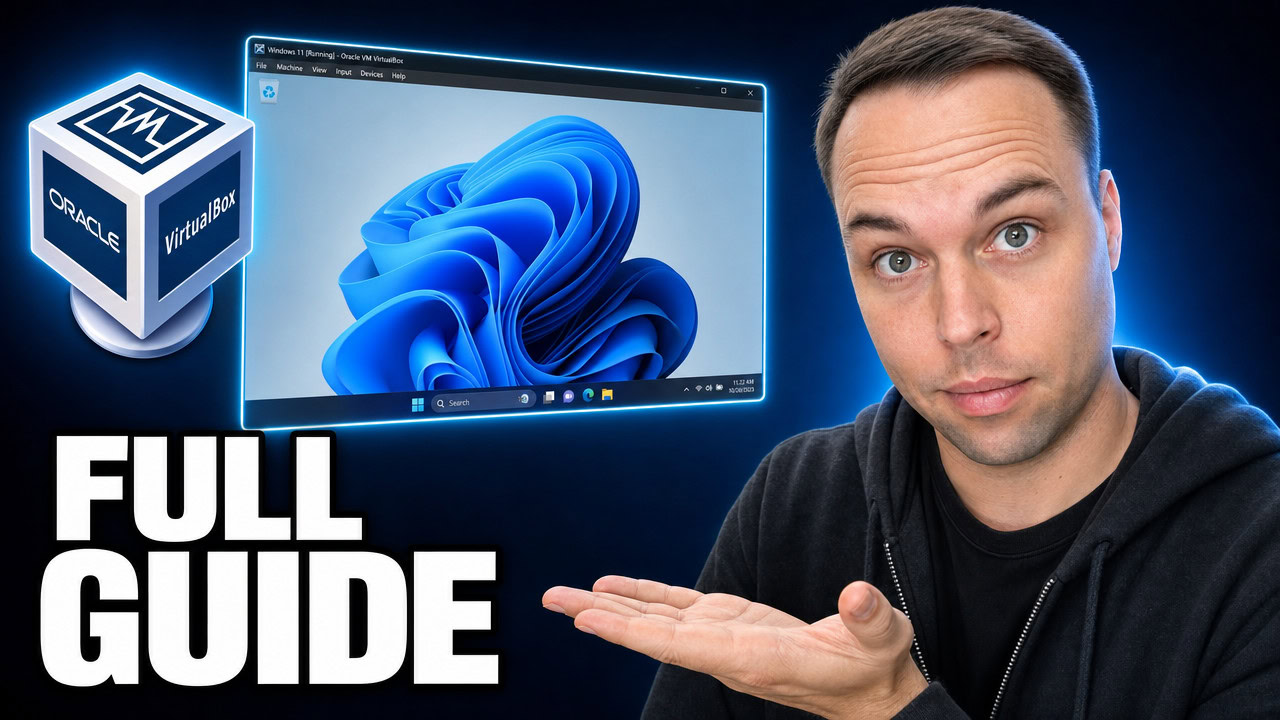
To install Windows 11 in a virtual machine, download the official Windows 11 ISO from Microsoft and the free, open-source VirtualBox, then create a new VM and point it at the ISO. VirtualBox gives the virtual machine its own virtual TPM and Secure Boot, so Windows 11 installs with no hardware-requirement errors — even on a PC that is officially too old for it.
Applies to: Windows 11 (24H2, 25H2) installed in VirtualBox 7.2 | Last updated: July 16, 2026
Key Takeaways
- VirtualBox is free and open source, and it gives the virtual machine its own virtual TPM and Secure Boot — so Windows 11 installs with no “This PC can’t run Windows 11” error, no registry hacks, and no modified ISO.
- The unattended installation method answers every Windows setup question for you and creates a local administrator account with no Microsoft account required.
- The manual method gives full control. To force a local account, set the
BypassNROandHideOnlineAccountScreensregistry values, or use the “I don’t have internet” option after a restart. - Install the VirtualBox Guest Additions to get a proper full-screen picture. The host key to enter and exit full screen is Right Ctrl + F.
- Take a snapshot of the clean install immediately. A snapshot is a save state of the entire machine that you can restore in seconds, so you never have to reinstall Windows in the VM again.
Quick Steps:
- Download the Windows 11 ISO from Microsoft’s official page and let it finish completely.
- Download and install VirtualBox for your host (Windows, Mac, or Linux).
- In Task Manager > Performance > CPU, confirm Virtualization says Enabled.
- Click New, name the VM, select the ISO, and leave “Install OS using unattended installation” ticked for the easy method.
- Set a username and password, leave the product key blank, and tick “Install Guest Additions”.
- Give the VM 8 GB of RAM, 4 CPU cores, and an 80 GB disk (stay in the green), then click Finish and let it install to the desktop.
- Install the Guest Additions, reboot, and switch to full screen with Right Ctrl + F.
- Take a snapshot named “fresh install” before you do anything else.
What a Virtual Machine Is (and Why You Want One)
A virtual machine is a complete Windows PC that runs in a window on your real computer. You can test software, play around with tweaks, and even break things on purpose, and none of it ever touches your actual machine. When you are done, you throw the changes away and start clean.
That is what makes it the perfect place to try anything you are unsure about before you touch your main PC — debloating Windows, testing tools like Winhance, or trying a registry tweak you found online. This guide covers the easy install method, the manual method for full control, the fixes for the most common problems, and snapshots at the end.
What You Need: the Windows 11 ISO and VirtualBox
You only need to download two things, and both are completely free: a Windows 11 ISO file and VirtualBox itself.
The Windows 11 ISO: Get it from Microsoft’s official software download page. At the time of writing, it gives you Windows 11 25H2. Scroll down to Download Windows 11 Disk Image (ISO) for x64 devices — if you have an ARM device, there is a separate ARM64 link. Choose the Windows 11 Multi-Edition ISO, confirm, pick your product language, and confirm again to generate the 64-bit download button. If you need it spelled out step by step, follow my guide on how to download the Windows 11 ISO file.
Important: Let the ISO download finish completely. A half-downloaded ISO is exactly why some people cannot open the file in VirtualBox later on.
VirtualBox: Download it from the official VirtualBox downloads page. Select your host — the host is just the computer you are using right now. Most people are on a Windows PC, so click Windows hosts. Mac and Linux downloads are right there too. If you want the walkthrough with screenshots, see my guide on how to download and install VirtualBox, and the full VirtualBox user guide is worth bookmarking.
There are other virtual machine programs out there. I personally use VMware Workstation Pro, but since Broadcom took over VMware, even downloading it has become a mission — I have a full guide on how to download VMware Workstation Pro for free if you want to go that route:
That download hassle is exactly why this guide uses VirtualBox: it is free, open source, and it does everything you need. If you already have a hypervisor you like, keep using it — everything I show you inside Windows works exactly the same.
How to Install VirtualBox (and the Visual C++ Fix)
Once VirtualBox is downloaded, run the installer. Click Next, accept the terms, and click Next again. Keep all the defaults for the custom setup. You will get a warning that your network disconnects for a moment — that is normal, it is just VirtualBox setting up its network drivers, so click Yes. If it mentions missing dependencies, click Yes there too.
On some PCs the installer stops and asks you to install the Microsoft Visual C++ Redistributable first. The installer does not do this for you — if it happens, download and install the x64 version from Microsoft’s latest supported Visual C++ redistributable page, then run the VirtualBox installer again. After that, add the shortcuts, click Install, and VirtualBox opens up when it finishes.
How to Check Virtualization Is Enabled
Before you create the virtual machine, one quick check can save you a headache. Your CPU’s virtualization feature needs to be on for any of this to work. Right-click the Start button, open Task Manager, go to the Performance tab, click CPU, and look for Virtualization. If it says Enabled, you are good to go. If it says Disabled, you need to switch it on in your BIOS.
Intel and AMD have different names for the setting, so the exact steps depend on your motherboard. I have a full walkthrough that shows you how to enable virtualization in your BIOS on different boards:
If you are not sure how to get into your BIOS in the first place, I also have a short guide on how to enter the BIOS/UEFI.
How to Create the Windows 11 VM (the Easy Unattended Method)
In VirtualBox, click New and give the machine a name, such as “Windows 11 VM”. Choose where it gets stored — by default that is your user directory on the C drive, but you can point it at a folder on another drive if you have more space there. For the ISO image, click the drop-down, choose Other, and select the Windows 11 ISO you downloaded. Once VirtualBox can read the ISO, pick the edition you want. Home and Pro are both on there — I go with Windows 11 Pro, and you will see why in the manual method below.
Why there is no TPM or Secure Boot error
You will notice there is no warning about TPM, no Secure Boot complaint, and no “This PC can’t run Windows 11” error. That is because VirtualBox handles the requirements for you — the virtual machine gets its own virtual TPM and Secure Boot. The unattended method also bypasses Microsoft’s checks on top of that, so you do not need any registry hacks or modified ISO files. It works even if your real PC is officially too old for Windows 11. You can compare the VM’s virtual hardware against the official Windows 11 minimum requirements if you are curious.
The unattended installation: a local account, no Microsoft account
The next options are filled in and grayed out because of the checkbox labelled Install OS using unattended installation. This is what makes the method so easy: VirtualBox answers all of Windows’s setup questions for you — the region, the keyboard, the account screens — and the machine installs itself all the way to the desktop. Leave that ticked and click Next.
Now tell it what to set up. For the username I use “memory”, and it needs a password typed in twice. There is no Microsoft account sign-in anywhere in this process — the unattended installation creates a normal local account, which is exactly how a lot of people prefer it. That account is a full administrator, so you can install software and change settings. Older versions of VirtualBox created a standard user here, which gave people endless headaches, but the current version creates an administrator, so you are covered.
Leave the product key blank. It just means this copy of Windows will not be activated, which for a disposable virtual machine is completely fine. An unactivated Windows keeps working with no time limit — you only get an “Activate Windows” watermark in the corner, and you cannot change the personalization settings. You can always activate it with a real key later.
For the hostname, if the name has spaces you will see a red outline, because a computer’s hostname is not allowed to have spaces — just replace them with hyphens. Leave the domain name as is. Leave Install in background unchecked, but tick Install Guest Additions — those are the drivers for the virtual machine and they are what give you a proper full-screen picture later. Click Next.
Set the RAM, CPU cores, and disk size
Whatever you give the virtual machine here, it borrows from your real PC while it is running. The sliders have a green zone that turns orange and then red — stay inside the green. Windows 11 runs perfectly fine on 8 GB of RAM, so that is what I give it. Officially it only needs 4 GB, but I would not go that low if you can help it.
For processors, the minimum is two cores and I give it four, which is plenty. The disk size can stay on 80 GB — do not worry about that number, because VirtualBox only uses the space as the machine actually fills it up. It will not instantly eat 80 GB of your hard drive. That is more than enough for a standard Windows installation, but you can make it bigger if you plan to keep a lot of files inside. Leave Use EFI ticked, click Next, review the summary, and click Finish.
The moment you click Finish, VirtualBox starts the machine. Because of the unattended installation, it goes straight into installing Windows — no language screens, no account screens, no clicking. This part takes a while (around 15 minutes on my PC), and when it is done it boots all the way to the desktop, signed into the account you created, without you touching a single thing.
How to Install Windows 11 Manually (Full Control + Local Account)
The unattended installation works great for most people, but it fails halfway for some, and you might simply want to choose everything yourself. If your machine installed fine and you are happy, you can skip straight to the Guest Additions section below. Otherwise, here is the manual method, where you install Windows exactly like you would on a real PC.
Click New again, name this one something like “Windows 11 manual”, and choose the same ISO by clicking Other in the picker. Here is the important part: this time, untick “Install OS using unattended installation”. The whole unattended section gets skipped, so go straight to the virtual hardware — 8 GB of RAM, 4 CPU cores, Use EFI ticked, 80 GB disk — then click Finish and start the machine.
Click inside the VM window a few times so it captures your input, and watch for the message Press any key to boot from CD — you only get a few seconds, so tap the spacebar a couple of times. If you miss it, just reset the machine and try again. Now you are in the Windows 11 setup wizard: pick your language, time and currency format, and keyboard layout.
Tip: If you select English (World) for the time and currency format, Windows installs with less of the bloatware. For this guide, though, just pick where you are located.
Tick the box agreeing that everything on the drive gets deleted (it is an empty virtual disk, so that is fine) and click Next. When it prompts for a product key, click I don’t have a product key. Select the edition — it defaults to Home, but I pick Windows 11 Pro, because Pro gives you an easy local-account path in a moment. Accept the license terms, select the single 80 GB virtual disk, and click Next to start the installation. There are no hardware-requirement complaints here either, because the VM genuinely qualifies with that virtual TPM and Secure Boot.
Create a local account (no Microsoft account)
After the installation and a restart, you land in the out-of-box experience — the setup questions. Select your country, keyboard layout, and skip the second layout unless you need one. If you ever see a “something went wrong” screen, just click Skip for now or Try again; it happens sometimes and carries on fine. Windows may also pull updates and restart on its own, so give it time.
On Windows 11 Pro, when you reach “Is this device for personal use or for work or school”, choose Set up for work or school, then Sign-in options, then Domain join — that lets you create a local offline account directly. But here is the method that works on any edition, including Home, for when Microsoft forces the account screen on you.
First, take the VM offline: click Devices in the menu bar, go to Network, and untick Connect Network Adapter. Then click inside the VM window and press Shift + F10 to open a command prompt. Type regedit and press Enter to open the Registry Editor, and navigate to this key:
HKEY_LOCAL_MACHINE\SOFTWARE\Microsoft\Windows\CurrentVersion\OOBEInside the OOBE key, create two DWORD (32-bit) values. You only need one, but I set both in case one ever stops working. Right-click OOBE, choose New > DWORD (32-bit) Value, name it exactly (these are case sensitive), and set the value data to 1:
BypassNRO= 1HideOnlineAccountScreens= 1
Prefer to type it instead of clicking through the registry editor? In the same Shift + F10 command prompt you can run these three commands to set both values and restart:
reg add HKLM\SOFTWARE\Microsoft\Windows\CurrentVersion\OOBE /v BypassNRO /t REG_DWORD /d 1 /f
reg add HKLM\SOFTWARE\Microsoft\Windows\CurrentVersion\OOBE /v HideOnlineAccountScreens /t REG_DWORD /d 1 /f
shutdown /r /t 0
When it comes back, the setup questions run again and fly by faster because you are offline. At the “Let’s connect you to a network” screen, look at the bottom for I don’t have internet and click it. Now it asks only for a username — I use “memory” again — and then an optional password. Turn off the privacy toggles if you like, click Accept, and it loads to the desktop signed into a proper local account, with no Microsoft account anywhere. This user is also an administrator.
The last step is to reconnect: go to Devices > Network and tick Connect Network Adapter again. For a full write-up of this bypass on the latest builds, see my Windows 11 local account guide. From here, everything is identical for both methods.
How to Get Full Screen: Install the Guest Additions
Windows is running, but you are stuck in a small square box because Windows does not have the drivers for this virtual hardware yet. Fix that with the Guest Additions. On the VM’s menu bar, click Devices > Insert Guest Additions CD image — this swaps the Windows ISO for a virtual CD with the drivers on it. Open This PC in File Explorer, double-click the Guest Additions CD drive, and run VBoxWindowsAdditions. Click Next, Next, keep the defaults, and Install.
When it finishes, let it reboot the virtual machine, because the drivers only start working after the restart. Back in Device Manager under Display adapters, you will now see the VirtualBox Graphics Adapter. Go to View > Full-screen Mode in the menu bar, but read the little warning first, because it catches everyone: to leave full-screen mode, press the host key together with F, and the host key is the Right Ctrl key by default — not left Ctrl.
If you are still stuck in a square box, go back to the View menu and use Adjust Window Size, or the Virtual Screen option at the bottom to pick a different resolution and scale. It is also worth opening Settings > Windows Update and installing the available updates, just like you would on a real PC.
How to Fix a Black Screen or a Slow VM
Black screen: The machine starts but you get nothing. Shut it down, open its Settings > Display, and check that the graphics controller is set to VBoxSVGA (the default for Windows machines), then push the video memory up to 128 MB. If it still misbehaves, try toggling the 3D acceleration checkbox, and check that the Windows ISO is not still sitting in the virtual DVD drive. Make sure you are on the newest VirtualBox too, because a lot of these glitches get fixed in newer versions.
Slow VM with a turtle icon: A little turtle at the bottom of the window means VirtualBox could not get direct access to your CPU’s virtualization, so it fell back to a slower compatibility mode. This usually happens because a Windows feature — Hyper-V, Memory Integrity, or the Windows Subsystem for Linux — is holding onto it. You can switch those features off if you need the speed, but Memory Integrity is a security feature, so that is a trade-off you will have to decide on yourself.
Always Take a Snapshot (and What to Safely Test)
If you take one thing away from this guide, let it be this: take a snapshot. A snapshot is a save state of the entire virtual machine, exactly as it is at that moment, and right now the machine is a perfectly clean, fresh Windows installation. On the menu bar, go to Machine > Take Snapshot, name it “fresh install”, add a short description, and click OK. You can take a snapshot while the machine is running.
Here is why it matters. Whatever you do in the machine from now on, you never have to reinstall anything. To go back, the machine has to be powered off first — in VirtualBox you cannot restore a snapshot while it is running. Shut it down, open the Snapshots view next to your VM in the manager, select “fresh install”, and click Restore. Start the machine again and it is right back on that clean installation, as if nothing ever happened.
That is exactly what makes a virtual machine so useful — it is a PC you can experiment on without any fear. It is the perfect place to test the kind of things I cover on the channel: debloating Windows, testing tools like Winhance, or trying a tweak you are not sure about before you touch your real PC. Once you have installed your usual software, take a second snapshot at that point too, so you always have your own setup to come back to.
Note on isolation: A virtual machine is very well isolated, but if you are going to test anything genuinely risky in here, like actual malware, switch off the shared folders and shared clipboard features. Those are the bridges between the virtual machine and your main computer.
Frequently Asked Questions
Do I need a product key to install Windows 11 in a virtual machine?
No. You can leave the product key blank and skip activation. An unactivated Windows 11 keeps working with no time limit — you only get an “Activate Windows” watermark in the corner and you cannot change the personalization settings. For a disposable test machine this is completely fine, and you can activate it with a real key later if you want.
Why does Windows 11 install with no TPM or Secure Boot error in VirtualBox?
VirtualBox gives the virtual machine its own virtual TPM 2.0 and Secure Boot, so the VM genuinely meets the Windows 11 requirements. The unattended installation method also bypasses Microsoft’s checks on top of that. This means Windows 11 installs cleanly even if your real PC is officially too old for it, with no registry hacks or modified ISO needed.
How do I install Windows 11 without a Microsoft account?
The unattended method creates a local account automatically. With the manual method, disconnect the network adapter, press Shift + F10 at setup, and set the BypassNRO and HideOnlineAccountScreens registry values under the OOBE key to 1, then restart and choose “I don’t have internet”. On Windows 11 Pro you can also pick “Set up for work or school” and then “Domain join”.
How much RAM and disk space should I give the virtual machine?
8 GB of RAM, 4 CPU cores, and an 80 GB disk work well for Windows 11. Officially Windows 11 only needs 4 GB of RAM and two cores, but 8 GB feels much better. The 80 GB disk does not fill up your drive immediately — VirtualBox only uses the space the machine actually stores, so a stock installation takes far less.
Is it safe to test malware or risky software in a VirtualBox VM?
A virtual machine is very well isolated from your real PC, which makes it a good sandbox for risky testing. If you plan to test actual malware, turn off the shared folders and shared clipboard features first, since those are the only bridges between the VM and your main computer. Take a snapshot beforehand so you can restore the clean state instantly afterwards.